Please Click the link & get 2000 Rs instantly

Tuesday 28 February 2017

How To Rename Multiple Files In Windows | Batch Rename In Windows?

How To Rename Multiple Files In Windows | Batch Rename In Windows?


windows-file
Short Bytes: There are a number of ways in which you can rename multiple files. This article covers the use of Windows Explorer and various other utilities which allow you to batch rename files in Windows operating system.
When it comes to the batch renaming of files, Windows Explorer doesn’t have much to offer. Still, it is possible to rename multiple files in Windows at once. It can be done with the help of third party software or the built functionality in Windows 10.

How to rename multiple files using Windows Explorer?

Although, not efficient but Windows explorer can change the name of multiple files in a folder. But it is only limited to naming the files in a sequential order. You can use the following steps to rename multiple files in Windows:
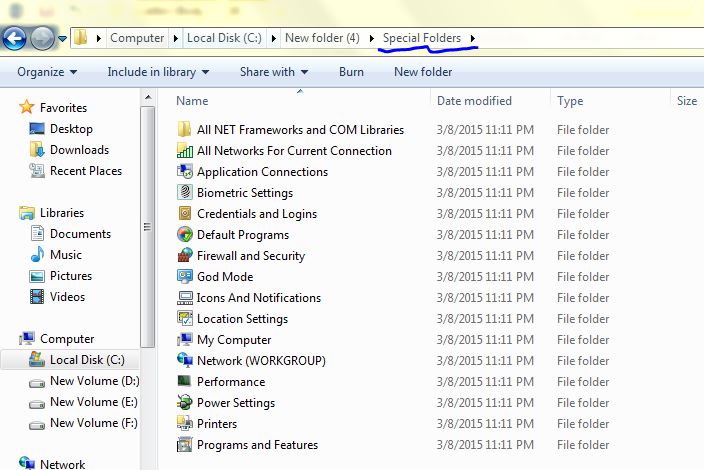
  1. Go to the folder where you want to change the name of files.
  2. Select the relevant files. You can select all of them or use the CTRL+Mouse button to select some of them.
    windows-bulk-rename
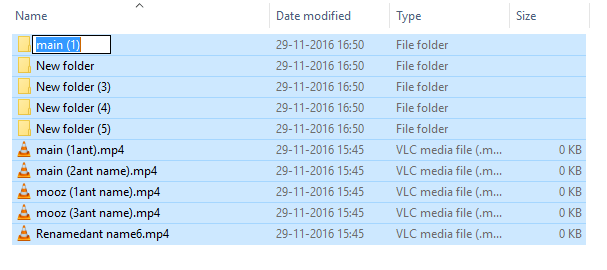
  3. Keep the files selected, right-click on the first file and rename it.
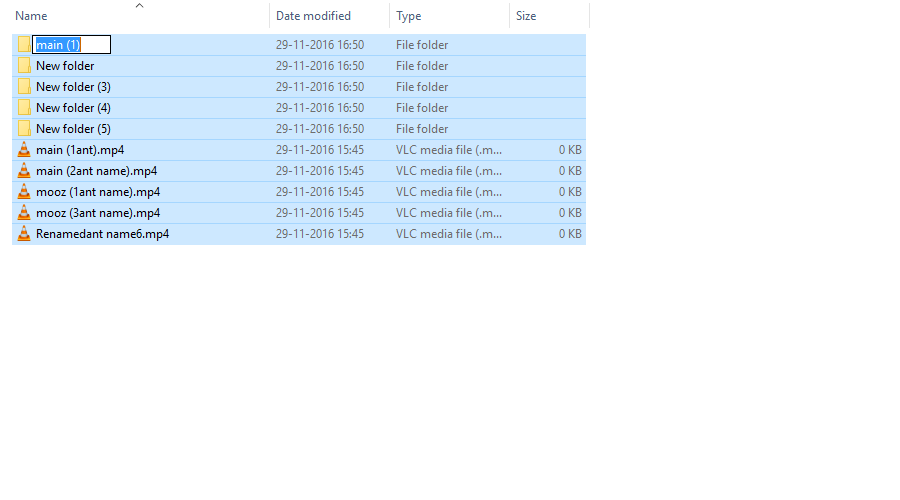
It is not mandatory to rename the first file among the selected ones. You can rename anyone and all the selected files will be renamed. But the thing is whichever file you rename first will be assigned the number (1).
You can also use this to rename multiple folders in Windows. If you select both files and folders at the same time, it numbering will be separate for files and folders.
It works in Windows 10 and hopefully in previous versions.

How to rename multiple files in Windows using Software?

Bulk Rename Utility

multiple file rename windows
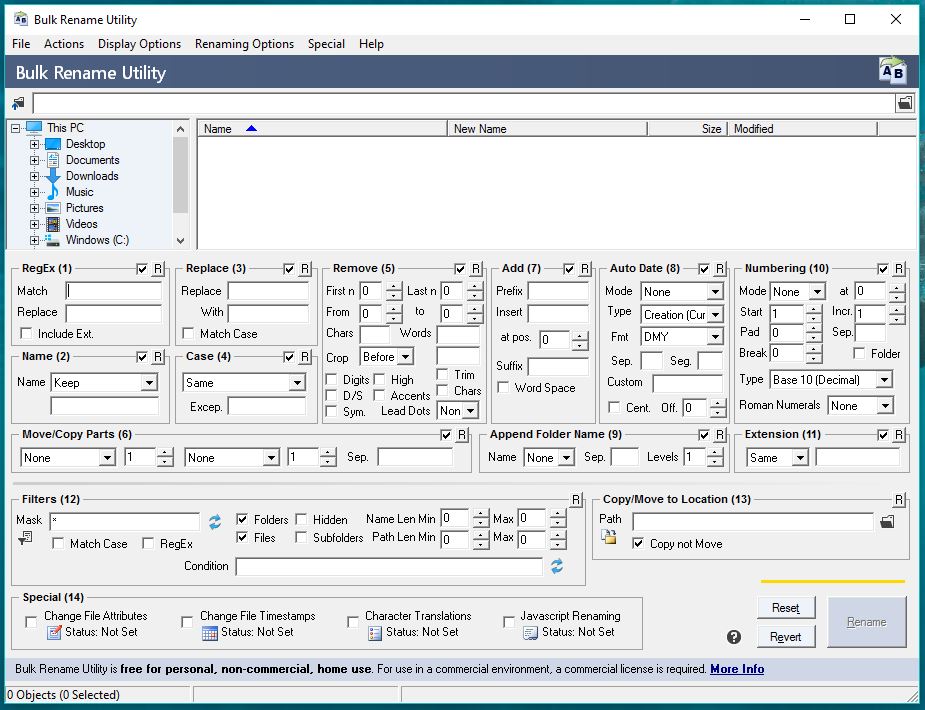
It is one of the most popular software to rename multiple files in Windows. Bulk Rename Utility is free to use for home users. It installs easily and has many options using which can rename your files/folders, change file extensions, etc. It also supports renaming of image files using the EXIF data and an audio file using its meta tag.

Ant Renamer

batch rename files
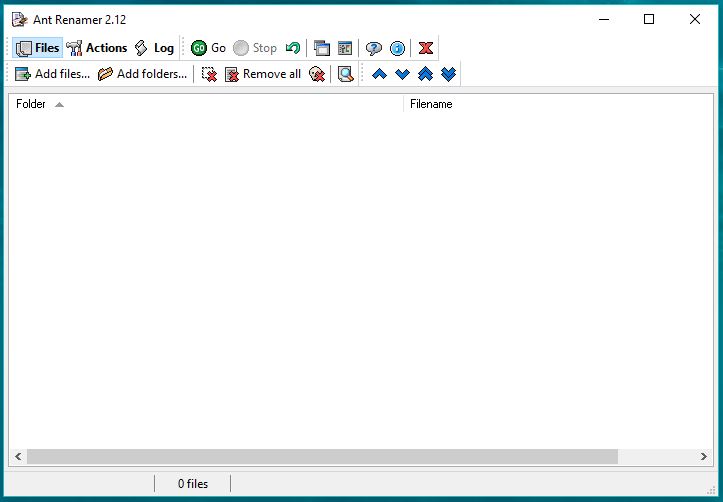
If you are pissed off by the cramped and confusing UI of Bulk Rename Utility, then you can go for Ant Renamer. It is small and does its job very efficiently. It can also rename files/folders, image and audio files using their meta tags. It is available as a portable version.

ReNamer

rename multiple files windows
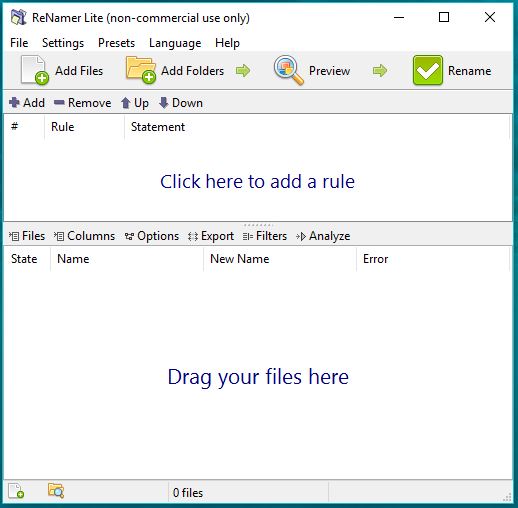
It is another file renaming tool you use. Just like the above two utilities, it is available in a portable form. It is free for non-commercial use. It’s visually appealing and doesn’t look cluttered.

Massive File Renamer

massive-file-renamer
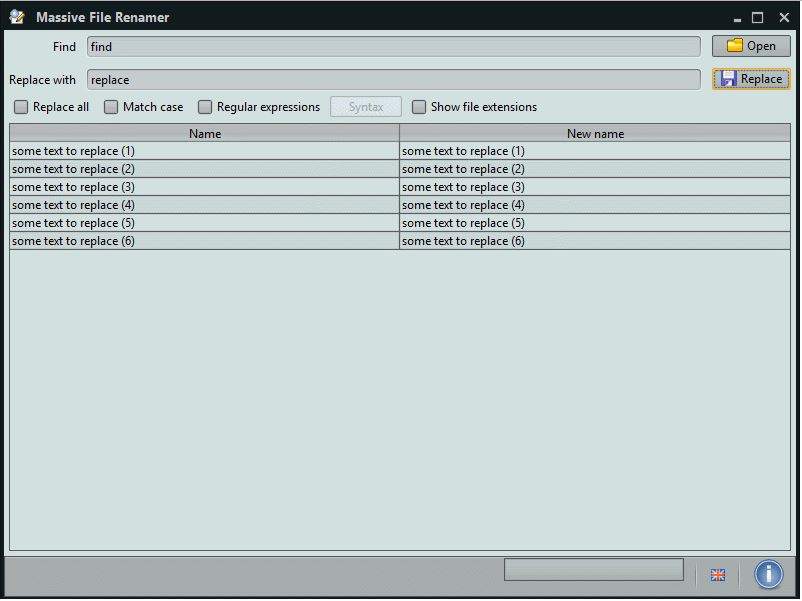
Other than Windows, this file renaming tool is also available for Linux and macOS. In order to run, it requires Java Runtime Environment 6 or above. Other than various file renaming options, a lot of attention has been given to the look and feel including a number of skins.
You can use any of these file reaming tools. These names are not written in the order of preference. It will take some time to get the hang of these tools and use them without much difficulty.
Did you find this helpful, tell us in the comments below.

How To Find If Someone Logged Into Your Windows PC At A Given Time?

How To Find If Someone Logged Into Your Windows PC At A Given Time?


windows-10-pc
Short Bytes: Do you ever wish to know if someone used your Windows computer without your permission? Few people know that an inbuilt utility named Event Viewer can help them out and tell lots of information like the start-up and shutdown time of their computers. To do this, one simply needs to open Event Viewer and filter the logs to see the required details.
Very often we share login credentials of our Windows PCs with others, just to let them access it for a limited period of time or due to some other unavoidable reason–and forget to change the password. Without a doubt, it’s a very poor security practice.

This also makes us wonder how can we know if something is being done to our computers in our absence. To accomplish this task, one can use the inbuilt Windows Event Viewer feature. It’s useful for system error logging, warnings, and informational events etc. However, very few people know about it.
Whenever a Windows user starts a program on a PC, it posts a notification in an Event Log. It also records every hardware glitch, driver issue, security changes, system access, etc. It’s basically a database that keeps recording all the significant system activities in the form of simple text files.
In this article, I’ll tell you how to find if someone logged into your computer at a given time.

How to start Event Viewer in Windows PC?

To start Event Viewer in your Windows 7 and 8.1, you need to click the Start Button and open the Control Panel. Now find the System and Maintenace option and click on it. There, you’ll find Administrative Tool which will contain Event Viewer.
On Windows 10, one can simply type Event Viewer in the desktop search box. Alternatively, one can use Windows+X+V key to launch the program.
Another way to open the Event Viewer to find if someone logged into your computer at a given time is by using the Run dialog. To do this, press Windows+R key. It will open Run dialog. Now type eventvwr and click OK.

How to find if someone logged into your computer without permission?

Now, after opening Event Viewer in your Windows PC, you need to locate Windows Logs > System. In the middle pane, this will open a list of the events that took place when Windows system was running. The events might take a couple of moments to populate.windows_10_event_viewer_1Here, click on any row in the middle pane to open a new pop-up with the information about that particular event. Now, to find out if someone logged into your PC, you need to sort this data.
To do this, click on the Filter Current Log button in the right pane. Firstly, make sure that Event logs field shows System. Secondly, make sure that User field shows <All Users>.windows-event-viewerAs shown in the screenshot, enter event IDs 6005 and 6006 in the empty field. This will filter the System events.
You can see the start-up and shut down time in the Date and Time column. Here, Event ID 6005 means “The event log service was started” (i.e. start-up time) and 6006 means “The event log service was stopped” (i.e. shut down time).use_event_viewer_windows_10You can also use the Custom view option if you wish to check this data regularly.
Did you find this tutorial on how to use Event Viewer to find if someone used your computer without your knowledge helpful? Don’t forget to drop your feedback in the comments section below.

Monday 27 February 2017

How to Convert Audio or Video Files to Any Format Using VLC

How to Convert Audio or Video Files to Any Format Using VLC


You can’t deny the fact that sometimes converting audio and video to some other format becomes one heck of a task. We use different software to do the job and frankly speaking they do it diligently. The worst part comes at the time of installing these free software. They ask to install different kinds of other tools claiming to speed-up the PC and different kind of browser extensions to your computer.
You will be amazed to know that you can convert your audio or video file to any format using VLC. You can convert your media file into different formats with few simple steps which I am going to show you here.
Step 1:
Open VLC media player and go to Media> Convert/Save.

vlc-audio-video-converter
Image: fossBytes

Step 2:Click Add and select the file you wish to convert. Now click on Convert/save button to proceed.

vlc-audio-video-converter
Image: fossBytes

Step 3:
Now select a format you wish to convert in by clicking on the drop-down menu available next to Profile.

vlc-audio-video-converter
Image: fossBytes

Step 4:Now select a destination and click on Start.

vlc-audio-video-converter
Image: fossBytes

Note:
  • Make sure to pick the right format for your device on which you are going to play the converted content.
  • If the video is large, you’ll see the timer on the player progress as it encodes to the new format.
So, why bother installing different software and getting irritated when you have your music and video converter already embedded in your VLC media player. Also, the sexiest part is that it provides you different formats to convert including “Video for Android HD, SD, and video for YouTube HD, SD”.
Here is a list of formats that can be converted using VLC media converter.
Audio Format
Vorbis (OGG)
MP3
MP3 (MP4)
FLAC
CD
Video FormatAndroid SD Low
Android SD High
Android HD
YouTube SD
YouTube HD
MPEG4 720p TV/device
MPEG4 1080p TV/device
DivX compatible player
iPod SD
iPod HD/iPhone/PSP
Now you can convert your audio or video using VLC media converter easily, have fun

Who Will Cry When You Die?


What Is System Volume Information Folder In Windows? How To Access And Shrink It?

What Is System Volume Information Folder In Windows? How To Access And Shrink It?


Short Bytes: If you’ve made your hidden and protected system folders settings visible, you might have come across System Volume Information folder on your PC. It’s a location that’s used to store System Restore points and other system files. By accessing the relevant properties in System Protection option, one can adjust the size of this folder. Also, for smooth functioning of your PC, the regular users are advised to avoid fiddling with this folder.
Apart from the regular folders that store your important documents, pictures, programs, and videos on your Windows computer, there are many other folders that perform essential tasks. These locations store important files that are critical for smooth functioning of your Windows OS.

If you’re an avid user of Windows operating system, you might have frequently come across the System Volume Information folder in the drives of your computer. This folder doesn’t appear on its own. Instead, you need to enable the show hidden and protected files settings in the Folder Options. But, ever wondered what is System Volume Information folder and what’s its use?system volume information 1

What is System Volume Information folder? How to access it?

System Volume Information is a folder that’s found on every computer partition. It’s a hidden system folder that your computer’s System Restore Tool uses to store its information and restore points. This folder is used by Windows for system-level functions. That’s why you can’t access it. Apart from Restore Points, System Volume Information folder also stores the content indexing service databases that are used for faster file searches, etc. system volume information 2
If you’ll try to open System Volume Information folder on your computer, you’ll encounter errors telling you denied access and unavailable location. This tells us that the content of this folder shouldn’t be touched/altered in normal conditions. On NTFS-formatted drives, Windows will stop you from deleting it. However, on exFAT or FAT32 drives, you can delete the folder but Windows will again create it in future.
Just in case you wish to access this folder, here’s a detailed guide from Microsoft. Here’s another great SuperUser resource to help you out.

System Volume Information folder is very large — How to shrink it?

You can access Windows System Volume Information folder by visiting the System and Security option in Control Panel. There, find System option and click on it. Now, find System Protection option in which there’ll be Protection Settings. There, you can see if System Restore option is enabled or disabled.system volume information 3
You can also use this setting to decide how much disk space your PC is using as System Volume Information folder to store System Restore points. Simply click on the Configure button to resize the folder size.

Should I delete System Volume Information folder?

As we’ve already mentioned above, System Volume Information folder stores important data of your operating system. So, leave it as it is. If it’s big size is troubling you, feel free to reduce the system restore folder. There are many online scripts for tweaking with your System Volume Information folder but I won’t advise you to use them.

How To Delete Facebook Search History All At Once?

How To Delete Facebook Search History All At Once? | Clear People From Facebook Search Bar

Short Bytes: Your Facebook search history is saved in the form of a list in your Facebook account. You can access this data whenever you want by visiting the Activity Log on your desktop and the Facebook app on your phone. There you can delete individual searches or delete all the Facebook Search history at once.
Facebook is mainly about news feed and selfies. But Facebook Search is great option to find people rather than searching them in your friend list. And sometimes we also bump into the names of the older mates whose memories are on the verge of diminishes.
Over the years, Facebook Search has transformed from a simple people and page search feature to a full-fledged search engine. Now, it allows us to type search queries in a natural way. However, everything you type in the Facebook search bar safely rests in the search history.
Just like Google, Facebook also uses this history to refine your search results. You can find you Facebook search history in the Activity Log. And you have all the power to delete it whenever you want.

How to delete Facebook search history completely?

Do it on the desktop:

  1. Click on the Facebook Search bar.
  2. Click on the Edit option in the top-right corner of the Facebook Search bar.
    Delete Facebok Search 1 Alternatively, you can go to your timeline page and click View Activity Log. Then click More (below Comments) and choose Search from the list.
  3. Once you’re on the search history page, you can delete individual search queries.
  4. To delete a search, click the edit button next to lock. Click Delete.
  5. A delete confirmation dialog box will appear. Click Remove Search.
    Delete Facebook History
  6. To delete all the searches at once, look for Clear Searches option on the top of the page.
    Delete Facebook Search 3Note: Once deleted, you won’t be able to get back your search history.
Deleting the searches from the activity log will also remove them from everywhere else they appear. For example, this will also erase the Facebook search bar’s recent searches drop-down list after you delete the names from here.

Delete Facebook Search history from your smartphone:

  1. On your phone, open the Facebook app.
  2. Now swipe and go to the section with three horizontal lines.
  3. Scroll down till you find the Activity Log on the list. Tap Activity Log.
  4. Tap Filter on the Activity Log screen.
  5. Scroll down the list and look for Search. Tap Search.
  6. Now, your Facebook Search history will be displayed in front of you.
    Delete Facebook Search History 4
  7. To remove a search, tap the cross button for the search. Then, tap Remove.
  8. To delete your Facebook Search history in a single go, tap Clear Searches on the top. Tap confirm on the next screen.
So, this way you can remove unwanted search from your Facebook search history.

SanDisk Ultra MicroSDHC 16GB UHS-I Class 10 Memory Card (SDSQUNB-016G-GN3MN)


How to record Desktop Screen using VLC and PSR?

Sunday 26 February 2017

Honor 6X (Gold, 32GB) With Huge Discount


How To Enable GodMode In Windows

How To Enable GodMode In Windows and Its Complete Features

What is GodMode?

Windows GodMode is an old trick, but I thought it’d be nice to share it with our readers who don’t know about it as Windows 10 is released. Also, I’ll be telling about all GodMode folders here, not just a single one. Windows GodMode, as the name suggests, provides you a shortcut and grander access to various control panel settings. It is also known as the Windows Master Control Panel shortcut (All Tasks) or All Tasks folder by different people.
By making this GodMode folder, you’ll get access to all the settings of the control panel in your OS within a single folder. This hack was first revealed in 2007 and it works in operating systems higher than Windows Vista i.e Window 7, Window 8, Windows 8.1, and Windows 10.
As you’ll know how to do it, you’ll come across the step of renaming the folder and using the phrase “GodMode”. Actually, GodMode name has nothing to do with this trick. Use your name instead of GodMode and it’ll work just fine because GodMode is just a name given to this trick as it got popular.

How To Enable GodMode?

  1.  Create a new folder in Windows
    god-mode-1
  2. Rename it to: GodMode.{ED7BA470-8E54-465E-825C-99712043E01C}godmode
  3. Once renamed it’ll converted and looks like control panel icon, open and there you have it.god-mode-enablegodmode-enabled
Note: You can enable GodMode using this trick in Windows Vista Window 7, Window 8, Windows 8.1,and Windows 10.

How to enable all GodMode folders?

There’s a lot more to this GodMode trick. There are a lot more GodMode folders waiting for you to utilize them. Copy and paste the script written below in a new notepad file. Rename this file as “godmodes.bat” and paste at the location where you want these GodMode folders to be. Now click on the renamed file “godmodes.bat” and there you have a list of GodMode folders, all with different uses.

how-to-godmode